English
 русский
 Deutsch
 日本語
日本語
Content
Understanding the Office Chair Lift Cylinder
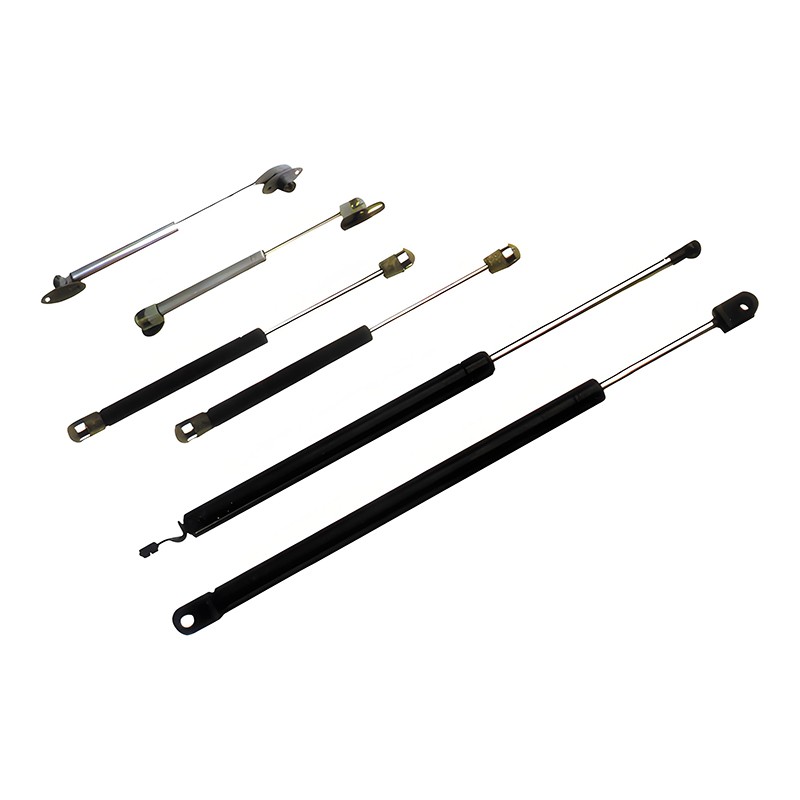
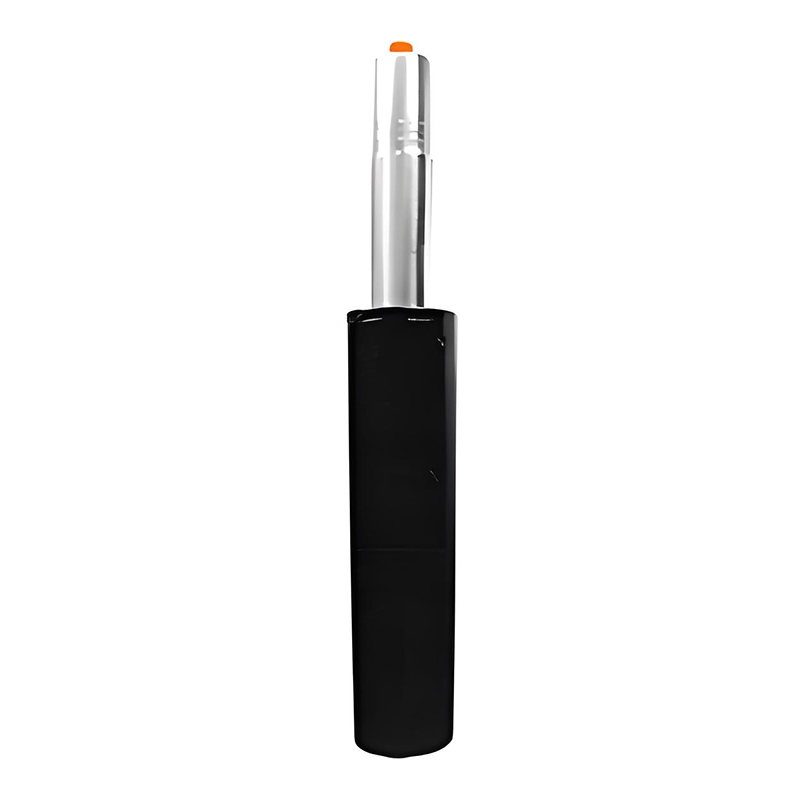
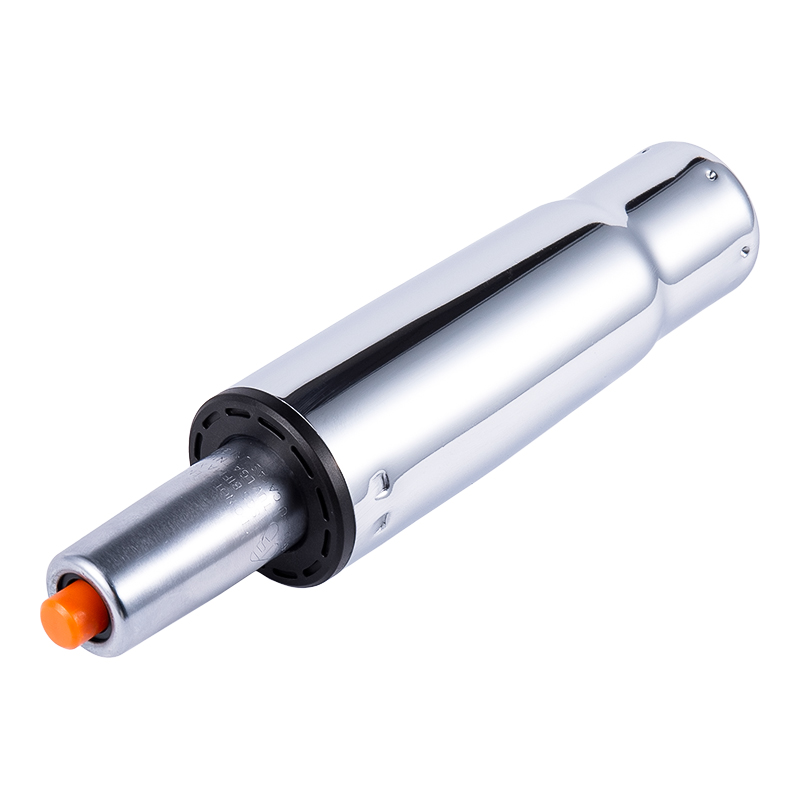
The office chair lift cylinder, also known as a gas lift or pneumatic cylinder, is the component that allows your chair to adjust in height smoothly. Over time, the cylinder can wear out or lose pressure, causing the chair to sink or fail to maintain its height. Understanding its function and identifying signs of failure are essential before attempting a replacement.
Tools and Materials Needed
Before starting the replacement process, gather the following tools and materials to ensure a smooth procedure:
- Replacement office chair lift cylinder
- Rubber mallet or hammer with a wooden block
- Adjustable wrench
- WD-40 or similar lubricant
- Protective gloves
- Clean cloth for wiping surfaces
Safety Precautions
Working with the lift cylinder requires caution as compressed gas inside the cylinder can pose risks. Follow these safety measures to prevent accidents:
- Wear protective gloves to avoid pinching fingers.
- Perform the replacement on a flat and stable surface.
- Keep your face and body clear of the cylinder path when removing it.
- Use lubricants sparingly to avoid slippery surfaces.
Removing the Old Lift Cylinder
Start by safely disassembling the chair to access the lift cylinder. The following steps outline the removal process:
Step 1: Lay the Chair on Its Side
Place the chair on a flat surface with the base facing upwards. This position provides better leverage and easier access to the lift cylinder.
Step 2: Remove the Chair Base
Pull the chair base (casters and legs) away from the cylinder. If it is stuck, gently tap with a rubber mallet while protecting the surface with a wooden block.
Step 3: Lubricate the Cylinder Connection
Spray WD-40 around the connection point between the cylinder and the chair mechanism. Let it sit for a few minutes to loosen any rust or debris.
Step 4: Remove the Cylinder
Using a firm grip and gentle taps from the rubber mallet, slide the cylinder out from the chair base and seat. Avoid excessive force to prevent damage to surrounding components.
Installing the New Lift Cylinder
Once the old cylinder is removed, follow these steps to install the new office chair lift cylinder:
Step 1: Inspect the New Cylinder
Check the replacement cylinder for any visible damage or defects. Ensure it matches the dimensions and weight capacity of your chair model.
Step 2: Insert the Cylinder into the Chair Mechanism
Carefully slide the narrower end of the cylinder into the chair’s mechanism. Push down firmly until it seats completely.
Step 3: Reattach the Chair Base
Place the base over the wider end of the cylinder. Apply downward pressure to ensure it locks securely in place. A few gentle taps with a rubber mallet may be used if necessary.
Step 4: Test the Chair Height Adjustment
Sit on the chair and operate the height adjustment lever. Ensure the chair moves smoothly and holds the position without sinking. If it fails to adjust, recheck the cylinder seating.
Troubleshooting and Maintenance Tips
Even after replacement, proper maintenance will extend the life of your new lift cylinder. Consider these tips:
- Periodically clean the cylinder and base to remove dust and debris.
- Lubricate moving parts with a silicone-based spray to maintain smooth operation.
- Avoid exceeding the weight limit specified by the chair manufacturer.
- Check for unusual noises or resistance when adjusting height and address immediately.
Comparison of Common Lift Cylinder Types
Selecting the right type of lift cylinder is crucial for performance and longevity. The table below summarizes common options:
| Cylinder Type | Weight Capacity | Lifespan | Best For |
|---|---|---|---|
| Standard Gas Lift | Up to 250 lbs | 2-3 years | Lightweight office chairs |
| Heavy-Duty Gas Lift | 250-400 lbs | 3-5 years | Executive or ergonomic chairs |
| Extra-Heavy Duty | 400+ lbs | 5+ years | Specialized or industrial chairs |