English
 русский
 Deutsch
 日本語
日本語
Content
- 1 What Is an Office Chair Gas Cylinder and How Does It Work?
- 2 Signs Your Chair Gas Cylinder Needs Replacing
- 3 How to Choose the Right Replacement Gas Cylinder
- 4 Tools You Need Before You Start
- 5 How to Remove a Gas Cylinder from a Chair: Step-by-Step
- 6 How to Replace a Gas Cylinder on an Office Chair: Installation
- 7 Temporary Fix for Office Chair Gas Cylinder Sinking
- 8 How Long Does a Replacement Gas Cylinder Last?
What Is an Office Chair Gas Cylinder and How Does It Work?
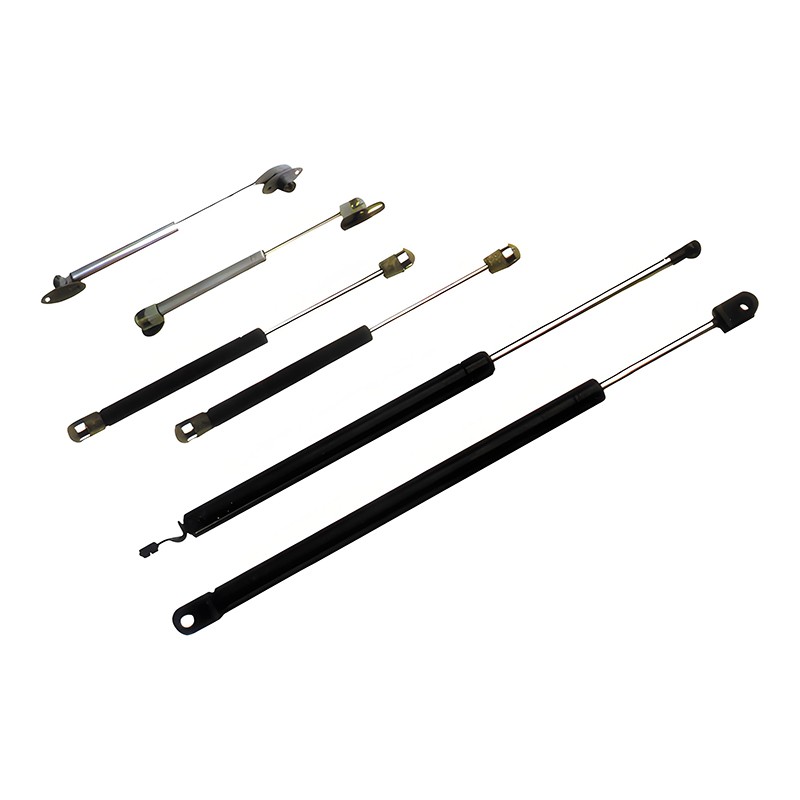
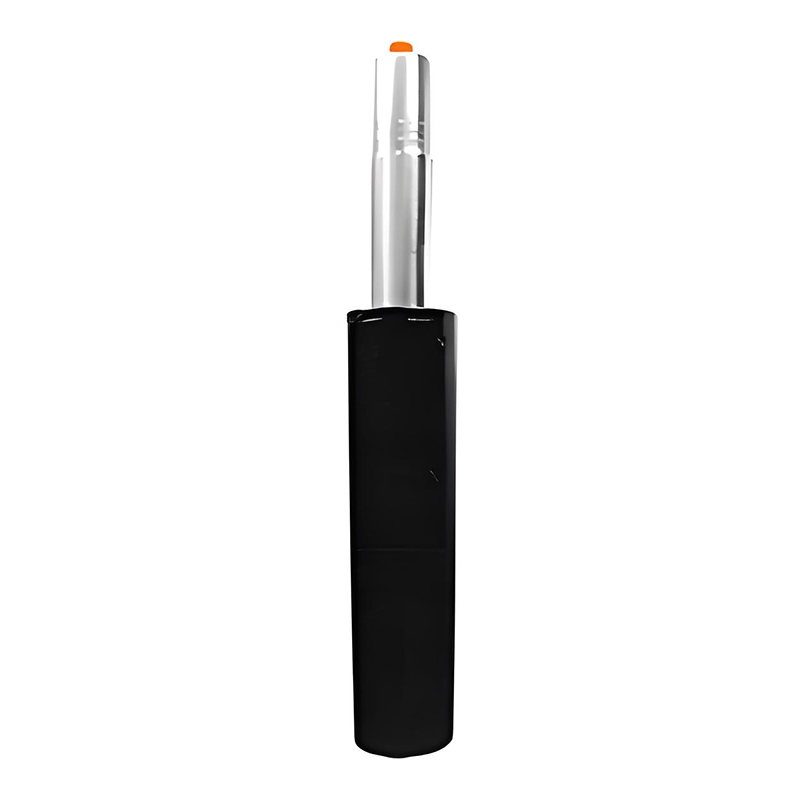
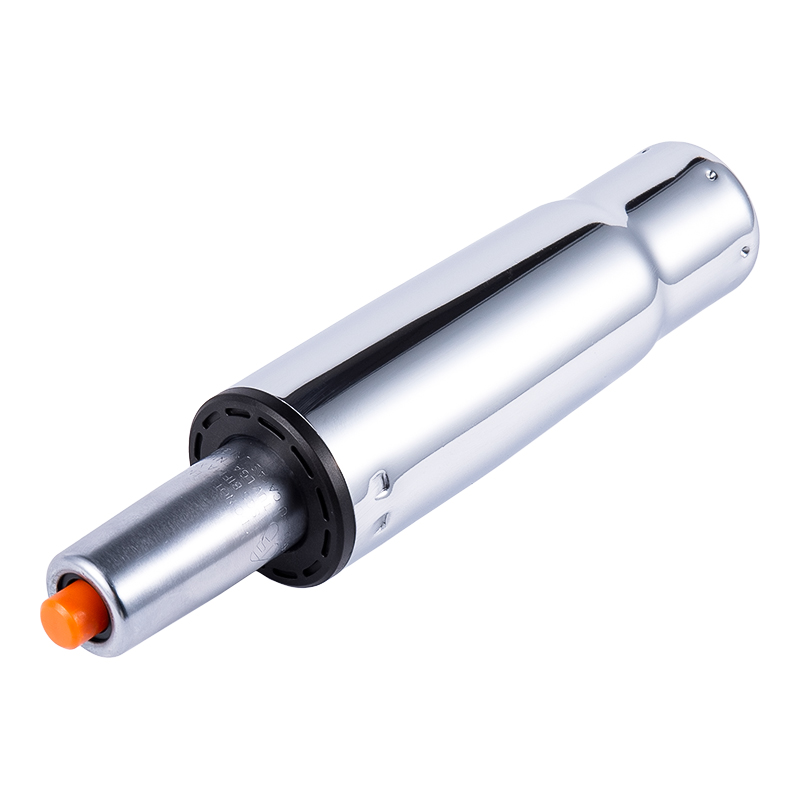
The gas cylinder on an office chair — also called a pneumatic cylinder or gas lift — is the telescoping metal column that connects the seat to the wheeled base. It contains pressurized nitrogen gas sealed inside a chamber. When you press the lever under your seat, a valve opens and the gas expands or compresses, allowing the seat to rise or lower smoothly. This mechanism is what gives modern desk chairs their signature height-adjustability, and it operates under significant internal pressure — typically between 100 and 150 PSI in a standard office chair gas cylinder.
Over time, the internal seals inside the cylinder degrade due to repeated use, temperature changes, and the constant load of a seated person. When these seals fail, the pressurized gas slowly leaks out. The result is a chair that sinks down on its own, refuses to stay at your preferred height, or drops suddenly when you sit down. Understanding this mechanism is the first step to diagnosing whether you need a gas cylinder chair replacement or simply a minor fix.
Signs Your Chair Gas Cylinder Needs Replacing
Not every chair height problem means the gas cylinder has failed. Before you invest in a replacement, it helps to confirm that the cylinder is the actual culprit. Here are the most reliable signs that the office chair gas cylinder fix you need is a full replacement rather than a simple adjustment:
- Slow sinking: The chair gradually descends over 10–30 minutes even without you touching the height lever. This is the most classic symptom of a failing gas cylinder seal.
- Sudden dropping: The seat drops sharply when you sit down or shift your weight, even when the lever is not engaged. This indicates the internal valve is no longer holding pressure reliably.
- Unable to raise height: The cylinder has fully lost its gas charge and is stuck at its lowest position, unable to lift under any circumstances.
- Wobbly or loose column: The cylinder itself wobbles inside the base or the seat mechanism, suggesting the outer casing has worn down or deformed.
- Oil residue or visible leakage: A thin oily film around the base of the cylinder indicates the internal lubricant has escaped along with the gas seal.
If your chair exhibits one or more of these symptoms, a desk chair gas cylinder replacement is almost certainly the correct course of action. Gas cylinders are not refillable or repairable at home — the internal components are permanently sealed at the factory.
How to Choose the Right Replacement Gas Cylinder
Office chair gas cylinders are not universally interchangeable. Buying the wrong size will result in a cylinder that either doesn't fit at all or leaves your chair at an unsuitable height range. Before purchasing, you need to identify three key specifications: the outer diameter of the cylinder, the taper diameter (the tapered section that inserts into the base and seat mechanism), and the stroke length (how far the cylinder extends from its lowest to highest position).
Standard vs. Heavy-Duty Cylinders
Most office chairs use a Class 3 or Class 4 gas cylinder, which is the industry classification for pneumatic cylinders rated by their load capacity and stroke. A standard Class 3 cylinder typically supports up to 250 lbs and has a stroke of about 4 inches. Heavy-duty or Class 4 cylinders support 300–500 lbs and often feature a longer stroke of 5–6 inches. If you're replacing the gas cylinder on a chair originally rated for heavy use, always match or exceed the original cylinder's class rating.
Key Measurements to Take Before Buying
| Measurement | Where to Measure | Typical Range |
| Outer diameter | Widest point of the cylinder body | 50mm – 60mm |
| Upper taper diameter | Tapered end that inserts into seat plate | ~28mm |
| Lower taper diameter | Tapered end that inserts into star base | ~46mm |
| Stroke length | Difference between fully extended and compressed height | 4" – 6" |
| Total compressed length | Full length of cylinder at lowest position | 7" – 12" |
The easiest approach is to remove the old cylinder first (see the section below on how to remove a gas cylinder from a chair) and take it to a hardware or office supply store for a direct comparison, or measure it yourself and match those figures when ordering online. Most aftermarket replacement cylinders are designed to be universal fits for standard tapered connections, but stroke length and load rating vary significantly between products.
Tools You Need Before You Start
One of the most common frustrations people encounter when attempting to replace a gas cylinder on an office chair is realizing mid-project that the cylinder is far more stubborn to remove than expected. The tapered connections at both ends are friction-fit — they are pressed together under the full weight of a seated person over months or years, creating an extremely tight bond. Having the right tools ready before you begin will save you significant time and effort.
- Pipe wrench or adjustable pliers: Essential for gripping the cylinder body when twisting it free from the base. A rubber strap wrench works well if you want to avoid scratching the chrome finish.
- Rubber mallet or hammer: Used to tap the cylinder loose from the tapered seat and base connections. A wooden block placed between the hammer and the cylinder prevents denting.
- Penetrating oil (e.g., WD-40): Sprayed around the tapered connection points and allowed to soak for 10–15 minutes to break down corrosion and ease separation.
- Flathead screwdriver: Useful for prying any retaining clips or plastic covers that protect the cylinder connection points on some chair models.
- Work gloves: The cylinder and base edges can be sharp, and penetrating oil makes surfaces slippery.
- Drop cloth or old towel: To protect your floor from oil residue and provide a clean surface to work on.
How to Remove a Gas Cylinder from a Chair: Step-by-Step
Knowing how to remove a gas cylinder from a chair correctly prevents damage to the seat mechanism and the star base, both of which you'll be reusing. The process has two main stages: separating the seat from the cylinder, and then separating the cylinder from the base. Work on a hard, flat surface — a garage floor or tiled room is ideal.
Step 1 — Flip the Chair Upside Down
Turn the chair completely upside down so the seat cushion rests on the floor and the five-star base points upward. This gives you unobstructed access to both tapered connection points of the cylinder. The cylinder should now be visible as the central column connecting the inverted seat plate to the center hub of the star base.
Step 2 — Apply Penetrating Oil to Both Tapered Ends
Spray penetrating oil generously where the cylinder's upper taper meets the seat mechanism plate, and where the lower taper meets the center hub of the star base. Allow at least 10–15 minutes for the oil to work into the tight connection. For chairs that have been in use for several years, a 30-minute soak produces better results. Wipe away any excess oil that drips onto the seat cushion area.
Step 3 — Separate the Star Base from the Cylinder
With the chair still inverted, grip the star base firmly with both hands and twist it back and forth while pulling upward (away from the seat). In many cases the base will separate cleanly after a few firm twists. If it remains stuck, place a wooden block against the center hub of the base and tap it firmly with a rubber mallet to drive the base off the lower taper. Avoid striking the cylinder casing itself, as the gas-filled body should not be deformed or punctured.
Step 4 — Separate the Seat Mechanism from the Cylinder
Once the base is removed, the cylinder remains inserted in the seat mechanism plate. Turn the seat right-side up. Set the seat on a table or elevated surface with the cylinder hanging freely below. Place a wooden block against the top of the cylinder taper where it enters the seat plate and strike firmly downward with a mallet — gravity and impact together will drive the cylinder out of the seat mechanism. Alternatively, some people clamp the cylinder in a vice and push the seat mechanism off by pressing down firmly on the seat while holding the cylinder stationary.
How to Replace a Gas Cylinder on an Office Chair: Installation
Installing the new office chair gas cylinder is considerably easier than removing the old one. The tapered connections are designed to be press-fit — they tighten under load, so you simply need to seat them correctly and the weight of a user will fully secure them over the first few minutes of normal use.
Step 1 — Insert the New Cylinder into the Star Base
Identify which end of the new cylinder is the lower taper — it is typically the wider tapered end and is often marked in the product instructions. Insert this end firmly into the center hub of the star base. Press down by hand until it seats fully and feels snug. You should hear or feel a slight click or resistance when it bottoms out correctly. Do not force it with a mallet at this stage — hand pressure is sufficient for assembly.
Step 2 — Attach the Seat Mechanism
Stand the base and cylinder assembly upright on the floor. Take the seat mechanism and locate the tapered hole in the center of the seat plate — this accepts the upper taper of the cylinder. Lower the seat mechanism down onto the upper taper, aligning it carefully so it sits straight. Press down firmly by hand until it stops. The taper will self-align and pull straight under the weight of the seat. Give it a firm push to make sure it is fully seated before moving on.
Step 3 — Test Before Full Use
Before sitting down fully, gently lower yourself onto the chair while holding a nearby desk or surface for support. Check that the cylinder raises and lowers smoothly when you engage the height lever, and confirm the seat holds its position when you release the lever. If the chair still sinks immediately after replacement, check that you've installed the correct class of cylinder for your weight — a light-duty cylinder in a heavy-use application will fail quickly. Once satisfied, apply your full weight to the seat — this will fully press-fit the tapered connections and complete the installation.
Temporary Fix for Office Chair Gas Cylinder Sinking
If you need to continue using your chair while waiting for a replacement cylinder to arrive, there is a widely used temporary fix that costs almost nothing. This method does not repair the cylinder — it simply locks the chair at a fixed height by preventing the cylinder from compressing further. It is not a permanent solution, but it can keep your chair functional for days or weeks.
- Hose clamp method: Purchase a stainless steel hose clamp (also called a jubilee clip) with a diameter slightly larger than your cylinder. Raise the chair to your desired height, then slide the hose clamp around the exposed lower portion of the cylinder shaft and tighten it until snug. The clamp rests on the top edge of the plastic cylinder skirt and prevents the cylinder from sinking further. A single clamp often provides enough resistance; two clamps positioned close together offer more stability.
- PVC pipe sleeve method: Cut a section of PVC pipe with an inner diameter slightly wider than the cylinder shaft. Raise the chair to the correct height, slide the PVC section over the exposed cylinder shaft, and lower the chair so the seat mechanism rests on the pipe. The pipe acts as a rigid spacer. This method is more stable than the hose clamp approach but requires finding PVC of the correct diameter.
Both methods are safe for short-term use but should not replace a proper desk chair gas cylinder replacement. They do not restore height adjustability — the chair will be fixed at whatever height you set before applying the temporary fix.
How Long Does a Replacement Gas Cylinder Last?
A quality aftermarket or OEM office chair gas cylinder, properly matched to the chair's load rating, should last between three and seven years under normal office use. Factors that shorten cylinder lifespan include exceeding the rated weight capacity, leaving the chair at maximum height for extended periods (which keeps the internal valve under continuous stress), exposure to extreme temperatures, and repeatedly bouncing or dropping into the seat rather than sitting down gently. Purchasing from reputable brands with clear load ratings and warranty coverage — typically one to two years for aftermarket cylinders — gives you better assurance of longevity than unbranded budget options.
If your chair is sinking again within six months of a replacement, suspect either an undersized cylinder for your weight, a manufacturing defect in the replacement part, or an issue with the seat mechanism valve (a separate component from the cylinder itself) that is not maintaining the lock position correctly. In that case, contact the cylinder manufacturer under warranty or consider whether the chair's seat plate mechanism needs servicing.