 English
 русский
 Deutsch
 日本語
One of the most common installation complaints is simple: the spring is new, the brackets are tight, and the lid still drops. The root cause is usually not the spring. It is the mounting point. A gas spring is a geometry device before it is a fastener. Move a mounting point by 10 mm on a small hatch, and the effective moment arm changes enough to make a 300 N spring feel closer to 220 N. That is why installation should start with a tape measure, not a wrench.
Key conclusion: install gas springs by setting the correct extended length, rod orientation, and mounting-point distance first; then mark, drill, and torque. If the geometry is wrong, no amount of tightening will fix the feel.
- Mark mounting holes with the spring fully extended, not compressed.
- Confirm push-up or flip-over design before choosing rod direction.
- Cycle the mechanism through full stroke before final torque.
Content
- 1 Mounting geometry decides the force you feel
- 2 Orientation, end fittings, and the comparison most installers skip
- 3 Force, temperature, and hidden installation errors
- 4 A step-by-step installation sequence that prevents callbacks
- 5 Application mix and what it means for setup
- 6 Maintenance, inspection, and compliance checks
- 7 What good installation looks like one week later
Mounting geometry decides the force you feel
For a hinged lid, a practical starting point is to place the moving mounting point about one-third of the lid length from the hinge. That is not a universal law, but it is a reliable first position for many covers, hatches, and cabinet doors. The fixed point goes on the frame. The spring must be in its extended state when you mark the holes. If you mark while the lid is closed, the holes shift and the spring will either bottom out or fail to hold the lid open.
Extended length
Measure eye-to-eye at full extension. A 5 mm error changes both the open angle and the end-fitting load.
Stroke
Check compressed length against the closed position. Leave clearance so the rod never bottoms out under load.
End fittings
Ball sockets, eyelets, and brackets each need a different marking method. Check this guide to end mounting methods before drilling.
For static holding applications, such as a hatch or machine cover that must stay open without a lock, a support gas spring is selected by holding force and mounting length rather than by stroke alone. The installation check is the same: full extension first, then bracket position, then fastener torque.
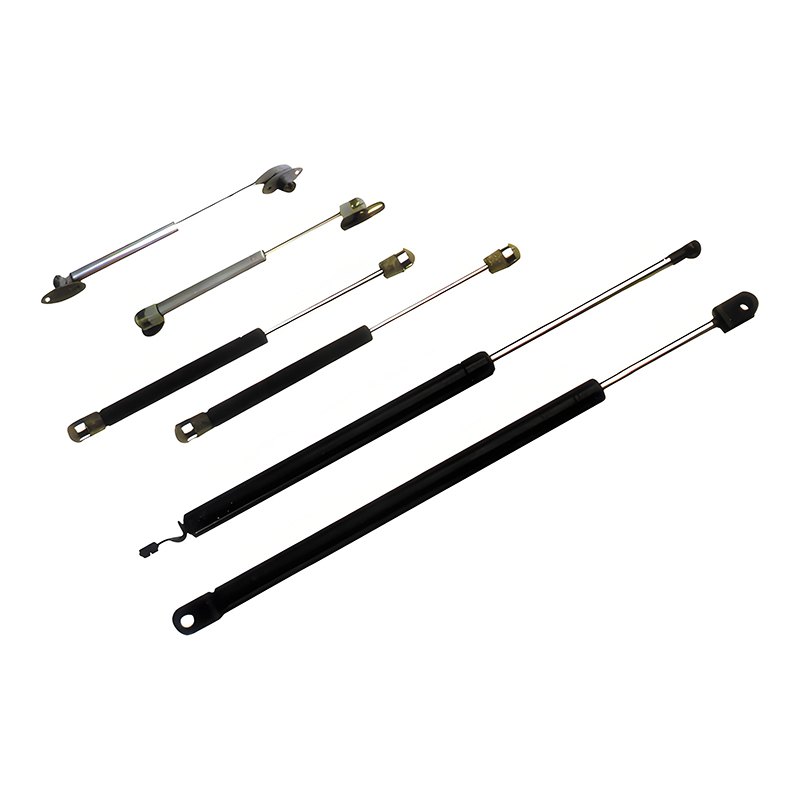 Support Gas Spring for Hatches and CoversCompact gas spring for holding hatches and covers open, with multiple cylinder, stroke, and force options to match mounting length and holding force.View Product →
Orientation, end fittings, and the comparison most installers skip
Rod orientation is not cosmetic. In a push-up design, the spring is arranged to push the lid upward as it extends. In a flip-over design, the spring crosses the hinge line and the rod direction changes the damping feel. If the rod is upside down for the design, lubricant can migrate away from the rod seal, and the spring may feel rough or noisy. Use the supplier's drawing, not a guess from the old part.
Comparison of common gas-spring mounting designs and the checks that prevent rework.
A gas spring is charged with nitrogen, so its force changes with temperature. A spring that feels correct at 20 C can feel firmer at 35 C and weaker at -5 C. That is normal, but it becomes a problem when the installer compensates by choosing a higher-force spring. The result is a lid that is hard to close in summer and drops in winter. Match the force to the normal working temperature and the actual load, not to a single test on a cold morning.
-5 C
10 C
20 C
35 C
Indicative extension-force change with temperature; confirm actual values from the spring drawing.
Another hidden error is side load. If the mounting points are not parallel through the stroke, the rod bends slightly inside the guide. The spring may still work when new, but the seal wears faster and the rod can score. Check alignment with the mechanism half-open, fully open, and fully closed. If the rod is not free through the whole arc, correct the bracket position before changing the spring force.
When the application needs holding at intermediate positions, a lockable gas spring adds a release mechanism and a locking piston. The installation then includes cable routing and release travel, not just mounting geometry. Test the lock with the spring extended and compressed, because a cable that is correct at one end of the stroke can be too tight at the other.
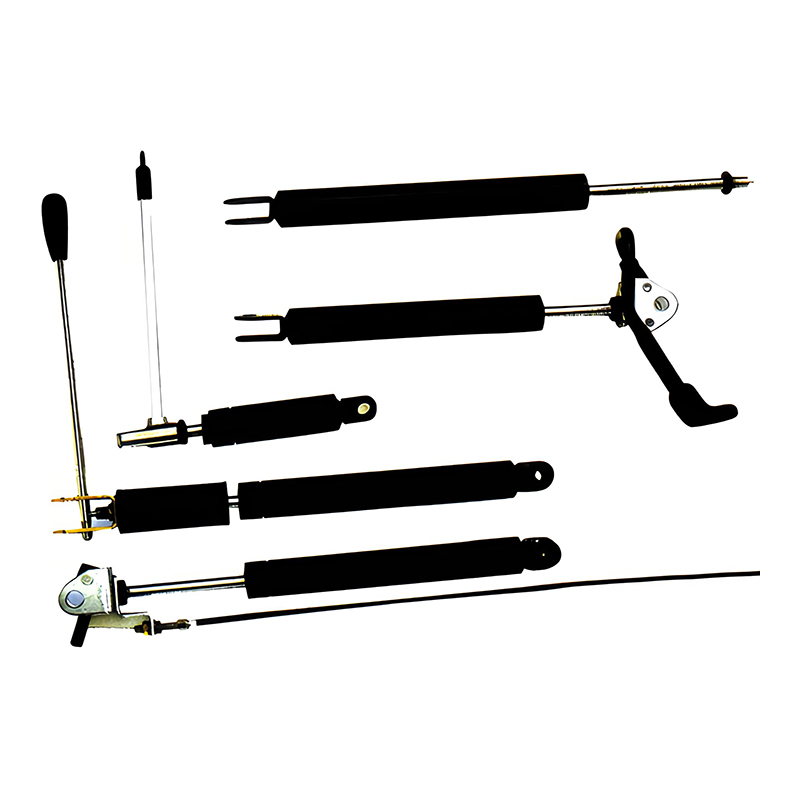 Lockable Gas Spring for Adjustable PositioningLockable gas spring for holding intermediate positions, with stroke and force options suited to office chairs, seats, and hospital beds.View Product →
A step-by-step installation sequence that prevents callbacks
- Confirm the part: check extended length, stroke, force, end fittings, and rod orientation against the drawing.
- Open the mechanism: move the lid or seat to the position where the spring will be fully extended.
- Mark at full extension: fit the spring loosely, align the brackets, and mark the holes. Check clearance through the full stroke.
- Install the brackets: use the specified fasteners. If the holes are slotted, add washers and tighten only after the spring is aligned.
- Fit the spring: push ball sockets until the clip snaps. Do not force an eyelet over a damaged pin.
- Cycle and torque: operate the mechanism 5 to 10 times, check for binding, then torque fasteners to the supplier's figure.
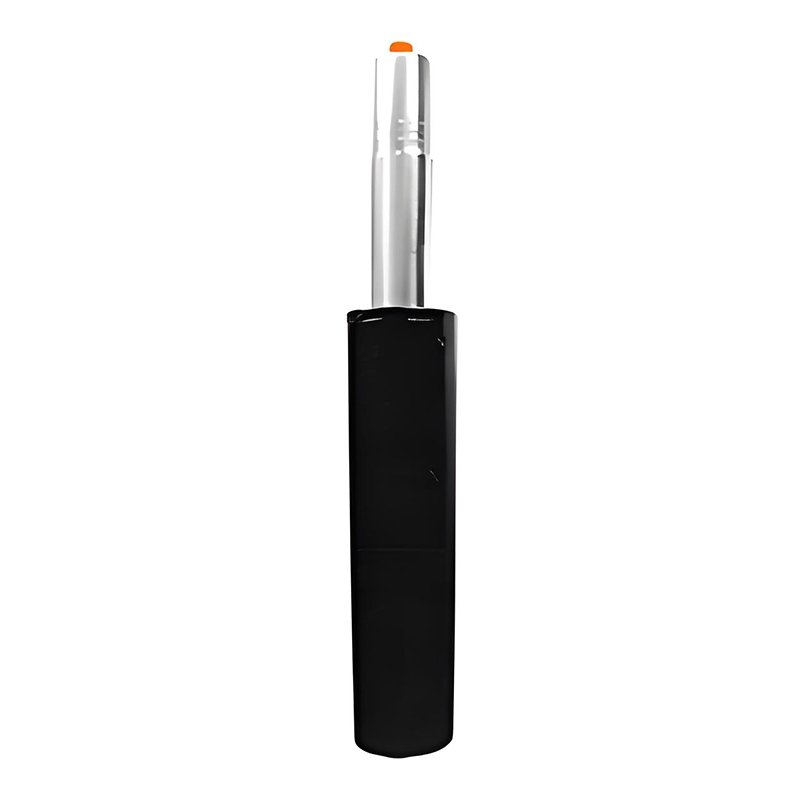
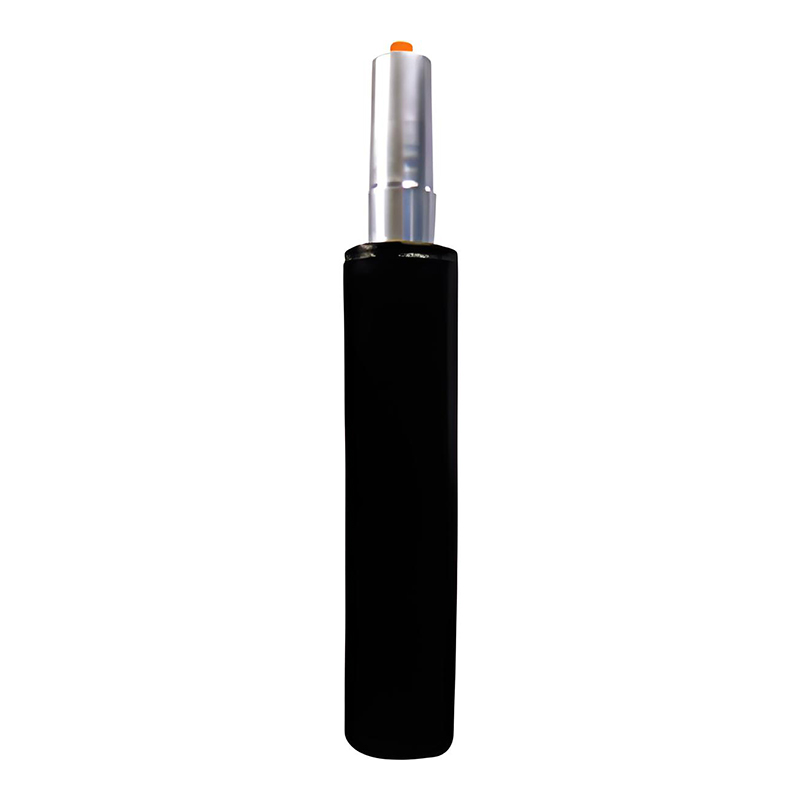
For office chair cylinders, the sequence is slightly different because the cylinder is vertical and the seat plate carries the load. Remove the old cylinder, check the taper and the seat mechanism, and fit the replacement without side load. A office chair gas cylinder replacement guide is useful for the removal and refit order. If you are replacing a worn lift, match the stroke and the mounting taper before ordering.
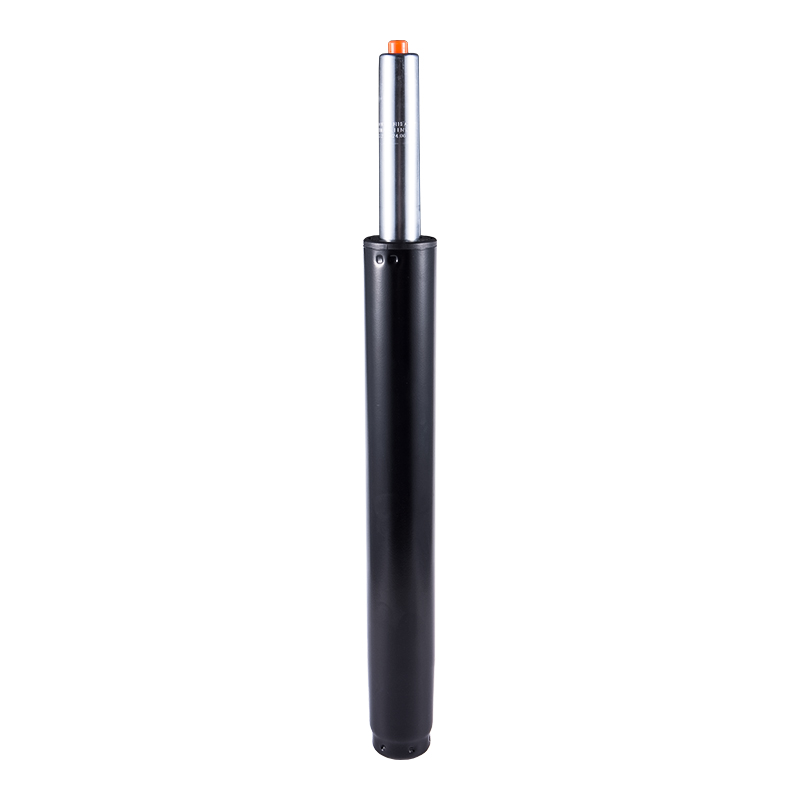 Office Chair Gas Lift Cylinder Replacement SeriesReplacement office chair gas lift cylinders in black or electroplated finish, with 60–270 mm strokes and S/D column variants for height adjustment.View Product →
Application mix and what it means for setup
The installation checklist changes by application. In ADF's product pages, office chair and bar stool cylinders make seating the most explicit category. Automotive and industrial enclosure uses are company-stated directions rather than separate product pages. For seating, the critical checks are vertical alignment, rotation clearance, and taper engagement. For hatches and covers, the critical check is mounting geometry. For lockable struts, it is release-cable travel and lock engagement.
Seating and office chairs: 45%
Automotive and transport: 25%
Industrial enclosures: 20%
Other applications: 10%
Indicative application emphasis based on the product categories shown on the ADF site, not a third-party market study.
Maintenance, inspection, and compliance checks
- Inspect the rod for pitting, scratches, and dust build-up. A scored rod damages the seal faster than a slightly lower force.
- Check ball sockets and pins for wear. A loose socket creates noise and side load, even when the spring itself is good.
- Do not open, heat, weld, or modify a pressurized gas spring. Follow local transport and disposal rules for pressurized components.
- Verify finish and documentation against the purchase drawing, especially for export orders where salt-spray and packaging requirements are specified.
A gas spring is a wear part, but most early failures come from installation. If the lid drops after a few weeks, check mounting-point distance and side load before ordering a higher-force spring. If the rod is oily or the spring makes a scraping sound, replace it and inspect the mounting alignment.
What good installation looks like one week later
A correct installation feels unremarkable. The lid moves smoothly through the full stroke, stays open without a hard push, and closes without a slam. The rod stays centered in the guide, the end fittings do not click, and the fasteners are still tight. If any of those checks fail, revisit the geometry and alignment first. Changing the spring force is the last step, not the first.
Final check: measure the extended length again after one week of use. If it has changed, a bracket has moved or the mounting points were not aligned under load. Fix that before replacing the gas spring.