 English
 русский
 Deutsch
 日本語
日本語
Content
Understanding the Mechanics of Height Adjustment
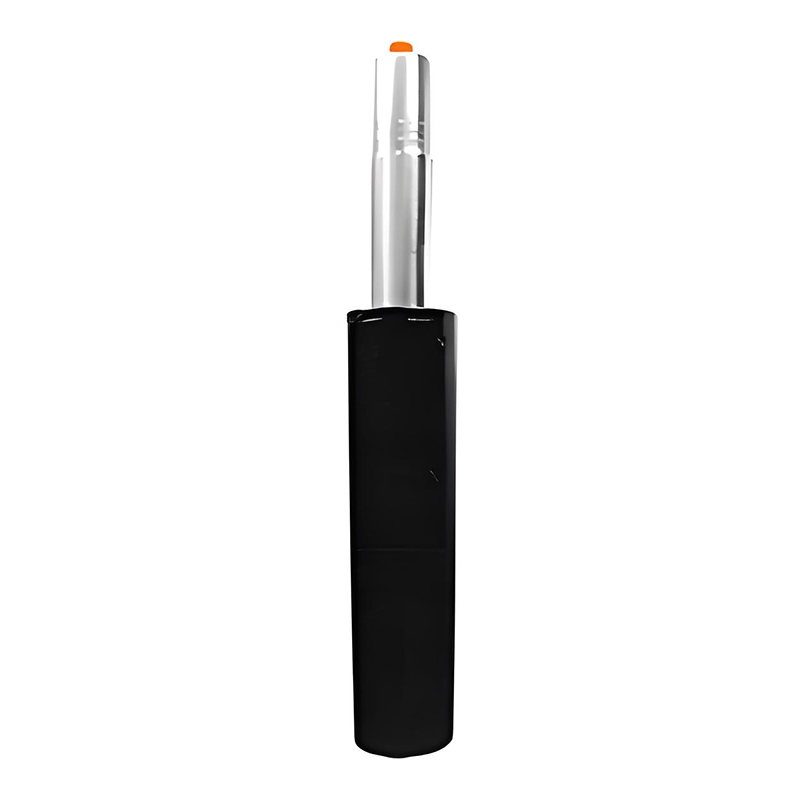
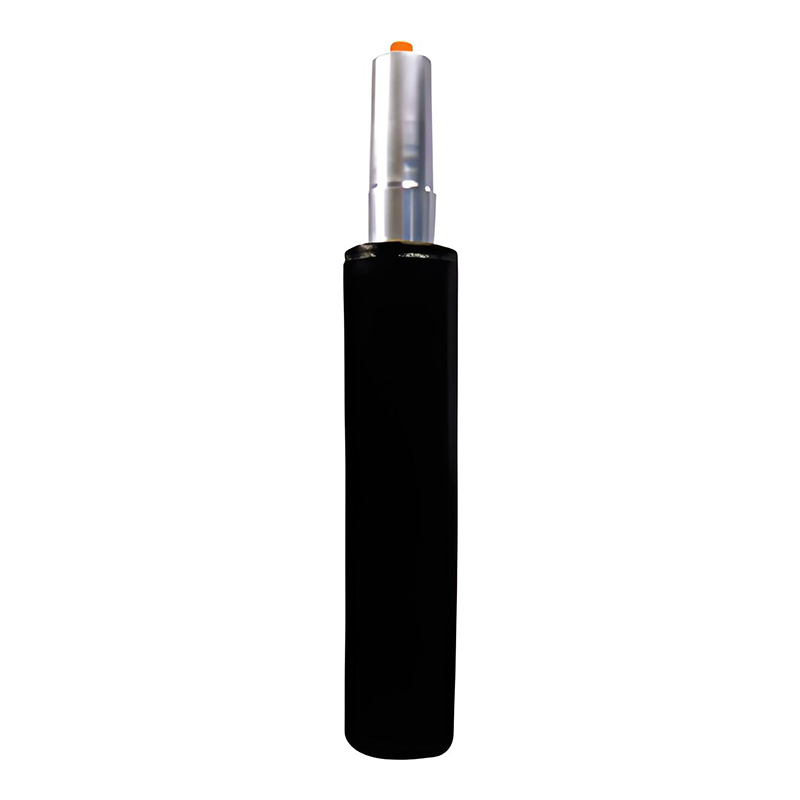
When a height-adjustable bar stool begins to sink under weight or fails to rise when the lever is activated, the culprit is almost always a failed gas lift cylinder. This component, often referred to as a gas spring or pneumatic piston, contains compressed nitrogen gas that provides the lifting force. Over time, seals degrade, gas escapes, or internal mechanisms wear out, rendering the stool unstable. Replacing this part is a cost-effective solution that extends the life of your furniture significantly. Understanding the basic mechanics helps in selecting a replacement that matches the original performance characteristics. The cylinder operates on a simple principle of pressure differential. When you pull the lever, a valve opens, allowing gas to flow between chambers, which changes the pressure and allows the chair to move up or down based on your body weight. A high-quality replacement must maintain this pressure consistently without leaking.
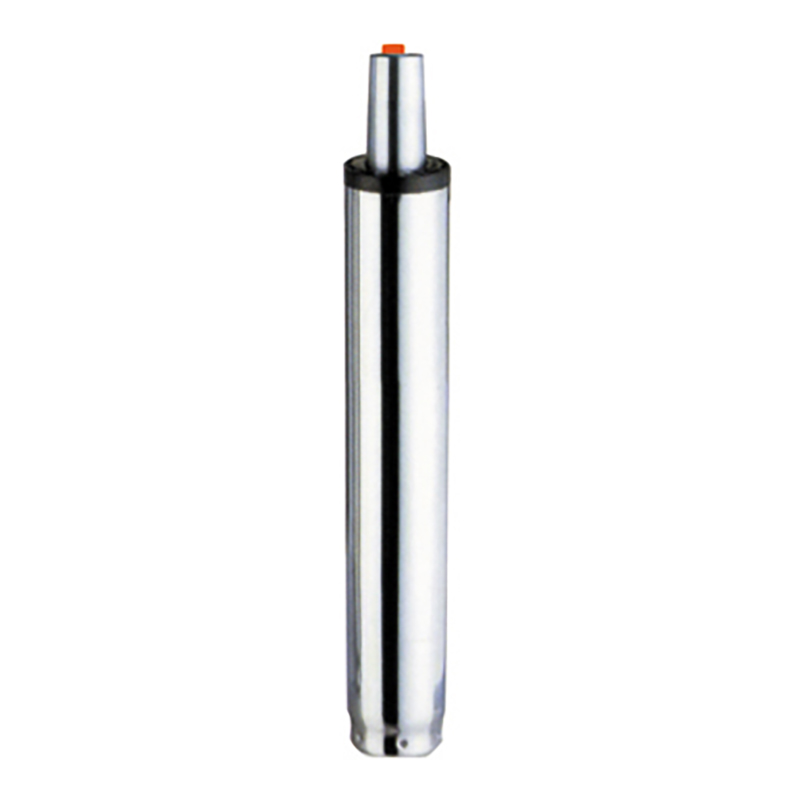
Critical Measurements for a Perfect Fit
The most common mistake in buying a replacement gas lift is assuming universal sizing. While many components share similar diameters, the length and stroke vary considerably. Before purchasing, you must remove the old cylinder and take precise measurements. Using a tape measure, determine the total extended length and the total compressed length. These two figures define the range of motion your stool requires. If the new cylinder is too long, the stool will sit too high even at its lowest setting. If it is too short, you lose valuable height adjustment range. Additionally, measure the diameter of the upper and lower stems. Most standard bar stools use a 28mm top stem and a 50mm bottom base, but variations exist. Ignoring these dimensions leads to compatibility issues where the new part simply does not fit into the existing seat plate or base.
Measuring Stroke Length Accurately
Stroke length refers to the distance the inner rod travels within the outer casing. This metric is crucial for ensuring the stool reaches both its minimum and maximum desired heights. To measure this, extend the old cylinder fully and measure from the tip of the top stem to the bottom of the base mount. Then, compress it fully and take the same measurement. The difference between these two numbers is your required stroke length. Write these numbers down and compare them against product specifications. Manufacturers often list the extended and compressed lengths clearly. If your old cylinder is no longer functional and cannot be compressed, estimate the stroke based on the visible portion of the rod when the chair is at its highest and lowest points. Adding a small buffer for safety is wise, but significant deviations will affect ergonomics.
Evaluating Weight Capacity and Durability
Not all gas lifts are created equal regarding load-bearing capabilities. Standard cylinders may support up to 250 pounds, while heavy-duty models can handle 350 pounds or more. Choosing a cylinder with a weight capacity that exceeds the user's weight ensures longevity and smoother operation. If the cylinder is rated too close to the actual load, it will wear out faster and may fail prematurely. Look for certifications such as BIFMA or SGS, which indicate that the product has undergone rigorous testing for safety and durability. These certifications assure that the cylinder meets international standards for office and home furniture. A robust construction usually features thicker steel walls and higher-quality sealing materials, which resist wear and tear from frequent adjustments.
Consider the frequency of use when evaluating durability. A bar stool in a busy commercial kitchen needs a much more robust cylinder than one in a residential home used occasionally. Commercial-grade lifts often have double-sealed pistons to prevent gas leakage under constant stress. For home use, a standard duty cycle is usually sufficient, but opting for a higher grade provides peace of mind. Check the warranty period offered by the manufacturer. A longer warranty often reflects confidence in the product's build quality. Avoid cheap, unbranded alternatives that lack clear specifications, as they pose safety risks and often fail within months.
Installation Tools and Safety Precautions
Replacing a gas lift cylinder requires some physical effort and the right tools. The primary challenge is removing the old cylinder, which is often stuck due to friction and weight compression over time. You will need a rubber mallet, a pipe wrench, and possibly a penetrating oil like WD-40. Never use a steel hammer directly on the cylinder or the chair base, as this can damage the metal and cause injury. Instead, use a block of wood as a buffer if striking is necessary. Always wear safety glasses to protect your eyes from flying debris or rust particles. Work in a well-ventilated area if using lubricants. Ensure the chair is stable and placed on a flat surface before beginning disassembly.
- Apply penetrating oil to the connection points between the cylinder and the seat mechanism, as well as the base. Let it sit for fifteen minutes to loosen rust and grime.
- Use a pipe wrench to grip the base of the cylinder firmly. Twist and pull simultaneously to break the taper fit. If it does not budge, tap the side of the base gently with a rubber mallet.
- Once the base is removed, flip the seat over. Use the mallet to strike the bottom of the cylinder through the hole in the seat plate to push it out. Be careful not to damage the surrounding plastic or wood.
- Clean the inside of the seat mechanism and the base cone thoroughly. Remove any old grease, rust, or debris to ensure a smooth fit for the new cylinder.
Comparing Standard and Heavy-Duty Options
When browsing for replacements, you will encounter various grades of gas lifts. Understanding the differences helps in making an informed decision. The table below outlines the key distinctions between standard and heavy-duty cylinders, providing a quick reference for buyers.
| Feature | Standard Cylinder | Heavy-Duty Cylinder |
| Weight Capacity | Up to 250 lbs | 300 to 400 lbs |
| Wall Thickness | Standard gauge steel | Thickened reinforced steel |
| Seal Quality | Single seal | Double or triple seals |
| Best Use Case | Residential, light use | Commercial, frequent use |
Final Steps for Secure Installation
Installing the new gas lift is generally easier than removing the old one. Insert the top stem into the seat mechanism first. Ensure it is centered and pushed in firmly. Then, place the chair base over the bottom stem. Sit on the chair carefully to allow your body weight to seat the cylinder securely into the taper fits. Do not use tools to hammer the new cylinder into place, as this can damage the internal valves. Test the height adjustment lever several times to ensure smooth operation. Check for any wobbling or instability. If the chair feels loose, verify that the cylinder is fully inserted into both the seat and the base. Proper installation ensures safety and restores the full functionality of your height adjustable bar stool.
```